Drying Herbs
How to Make Dried or Dehydrated herbs
Dried herbs, like fresh herbs can add so much to a simple meal. They're easy to grow, easy to use and now, easy to preserve.
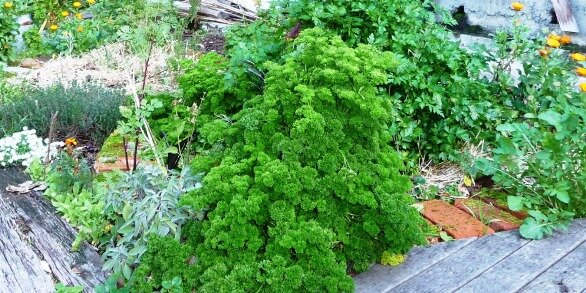
Drying herbs is an absolute doddle. It's a straightforward process and a natural way to have your own dried herbs for year round use.
Sometimes it can be a bit of a stretch to use whole herb plants when you grow them, or even when you purchase a fresh bunch from the shops. Don't let it go to waste.
You can use a dehydrator for drying herbs, but what has been successful for me goes like this:
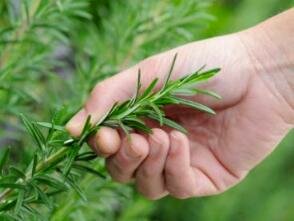
- Cut off the top six inches of the stalk where the tender leaves are. This should be done in the morning before the heat of the day robs the plant leaves of their essential oils. Remove any tough or old leaves.
- Wipe any dirt off the cuttings, but don't soak the stems or leaves. Dampness will cause mould to form.
- Gather into bunches of 6-8 stalks and put them stalk end up in a small paper bag. Secure with an elastic band or string around the top of the bag. Lots of people don't use a bag, but I prefer it. It allows the air and moisture to pass through but doesn't allow the herbs to get dusty while drying. (Nasty)
- Hang the bag in an airy place away from direct sunlight. This can be indoors or out, but there must be circulating air.
- The drying will take a couple of weeks generally. When the leaves crumble easily, they're ready. Crumble or pound them to the size you want, or force them through a sieve into containers.
- Store your dried herbs in small, air tight containers. Dark glass is best to preserve their colour. Make sure you have labels ready. These herbs should then be stored in a cupboard or away from the stove. Heat and sunlight are both unkind to fragile herb colours and tastes.
- Once they've been in jars for a couple of weeks, check them carefully for any moisture leaks or mould. They should be bone dry.
The key to successfully drying herbs is preserving them at their best when essential oils are at their peak.
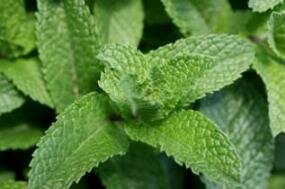
In most cases, this is just before the flowers bloom. Mints should be done while in full bloom.


Garden Gift Hub is one of the most thoughtful and interesting places on the web to find original and useful gardening and nature inspired products.

